In the current era, with the important rise of social networks in recent years, we all get a lot of information at our fingertips every day. That is why, for a user who browses the internet to choose to click on your content (and consequently on your website), you must take care of the small details that make you stand out from the rest of the businesses in your professional activity.
One of those details, and which I want to talk to you about today, is to create unique, quality images that attract the attention of the public you want to address.
Yes, you read it right. I said to create. I know what you’re thinking… Mistake. Yes, you can. And yes: I don’t care if you’re not a professional graphic designer.
If you don’t need any of that, and you can design your own images entirely online and in a super simple way without prior knowledge of any type of graphic design programs… things would change. Am I wrong?
Today I am going to discover something that will allow you to offer your visitors quality graphic material on your website, blog, online store, or social network profiles. I’m talking about DesignCap.
What is DesignCap?
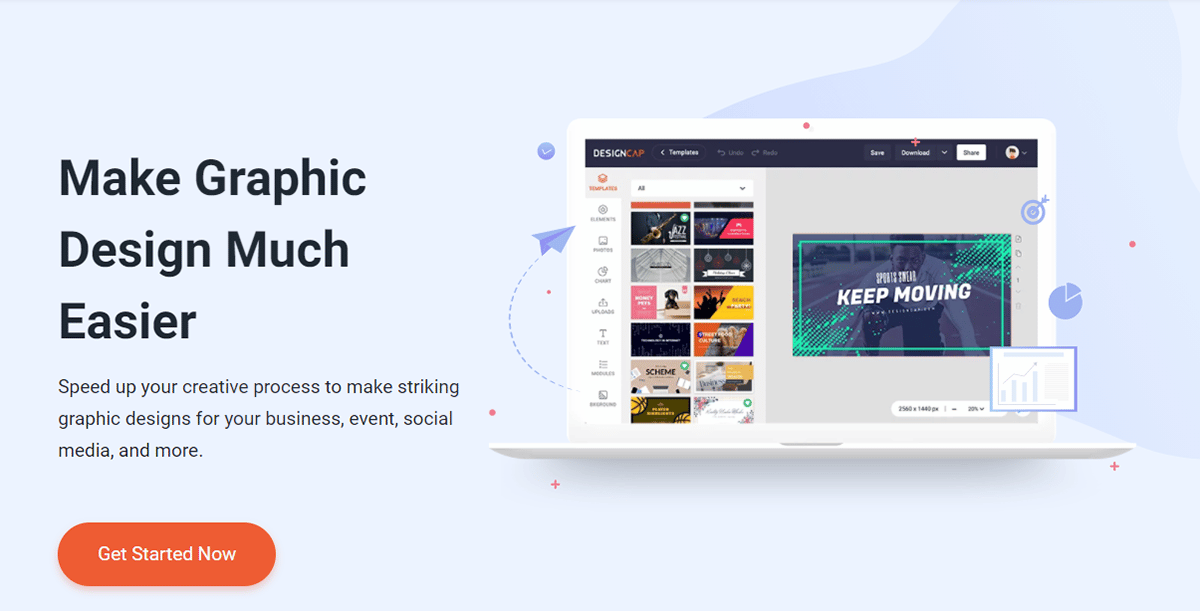
DesignCap is a totally online tool with which you can design practically any type of graphics you can think of for your website or blog.
All this in a very intuitive way and obtaining detailed final results with a very professional appearance.
Of those that I have tried, it is without a doubt the most powerful tool that I have found to carry out this type of task (obviously, without counting the graphic design programs that install on your computer).
Its possibilities are enormous, offering you both elegant and professional predefined designs and giving you the option of designing everything from scratch using its repository of images, graphics, illustrations, fonts, etc.
If this were not enough, DesignCap also allows you to upload images or any graphic element from your computer so that the resulting design can be even more personalized if possible.
Recommended for you: DesignEvo – Create a Professional Logo for Your Business.
What kind of images can I create with DesignCap?
As I mentioned before, with DesignCap, you can create any type of graphic element you need for your internet business.
Let’s see a list of things you can do on this platform:
- Graphics for social networks (cover images for Facebook and Twitter, images for Instagram or Tumblr, images for Google Plus, YouTube thumbnails and YouTube banners, Facebook Ads, etc.).
- Infographics, charts, tables, and images for your blog articles.
- Business cards, advertising flyers, posters, gift cards, menu cards for restaurants, and practically any element of the corporate image you can think of.
- Cards and invitations for events (weddings, birthdays, etc.)
- Ad design.
- Presentations for your work or class.
- Resume for finding a job.
- Striking email header to generate more responses.
- Daily schedule, work schedule, fitness schedule, class schedule, and more
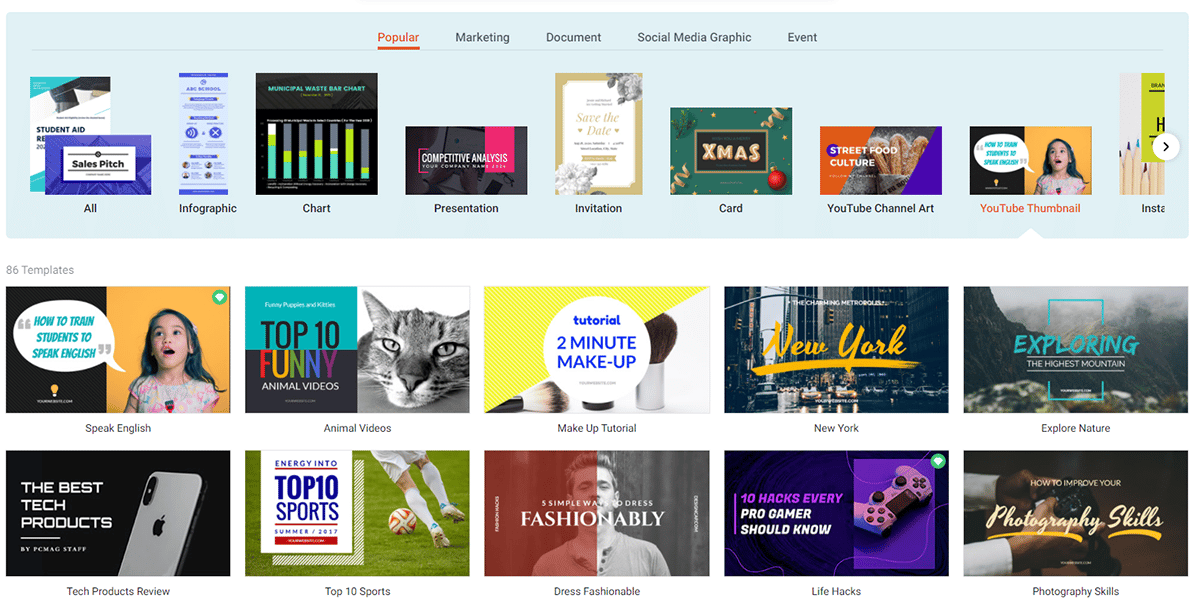
In the lower image, I leave you to capture all the possibilities you have (to which you must add the option of making designs of any type with the specific dimensions that you want).
Step-by-step tutorial on how to create images for your website, blog, or social networks with DesignCap
I am convinced that when you see all the possibilities that DesignCap offers you, I have set your teeth longer.
You want to learn how to use it right now… am I wrong? Your wishes are orders for me. I’m going to make an example together with you so you can get started with DesignCap.
I’m not going to do something overly complicated to start with since my idea is that you see how you can handle the tool.
After this little guide, you will be able to elaborate your designs to the point you want, with the only limit of your imagination and your creativity.
1. Registration of an account
The first step to being able to use DesignCap is to register on the tool’s website.
This is extremely simple: all you have to do is enter an email and a password on its home page to access it. If you prefer, you can register by connecting DesignCap with your Facebook or Google profile.
He has no more. Easy… right?
2. Choose the type of image you are going to create.
Now it’s time to select what type of image you are going to design.
I’m going to make a featured infographic for a blog.
To do this, on your DesignCap home page, go to the button where it says “Get Started Now”. All the possible options that I have shown you before when talking about the types of images that you can create with DesignCap will open up to you.
Look in the “Infographic” section and choose a preset template.
Immediately after doing this, the work environment will open to carry out the graphic design of our image.
3. Designing an image for your blog with DesignCap
We arrived at the moment of art and pure creativity.
Once the previous steps are done, we find ourselves with a blank document to make the image for our blog.
To design to your free will, you will only have to use the different options that are on the left.
Next, I will explain what each of them is for…
Templates
By pressing this option, you will see that you can access several predefined designs from which to make your own.
It can be highly recommended to use this option at the beginning when you are not very familiar with DesignCap, but I assure you that you will end up leaving it aside and making designs from scratch within a few times that you handle the tool (since it is incredibly intuitive).
In our example, we will use one of these templates as a base.
Now, if you hover over the design that we are going to create, you will see that we can very quickly change any element that is in the template (colors, font sizes, fonts, images, etc.).
I am going to remove the image and leave only the geometric shape on the left side, as well as increase its size a little and change the text.
The result of performing these tasks will be something like this…
You may like: Stellar Converter for OST Review – Advanced Software for OST to PST Conversion.
Elements
In this section, there are millions of icons that you can search for and use for free. It also has a wide selection of preset shapes, lines, frame masks, speech bubbles, etc.
Photos
With this button, you can search by words to find graphic design elements that adapt to what you want to put in your image.
To find what you are looking for, all you have to do is write the word or words related to what you want to find.
When the results are displayed, you will see that within DesignCap, there are free components to use in your designs.
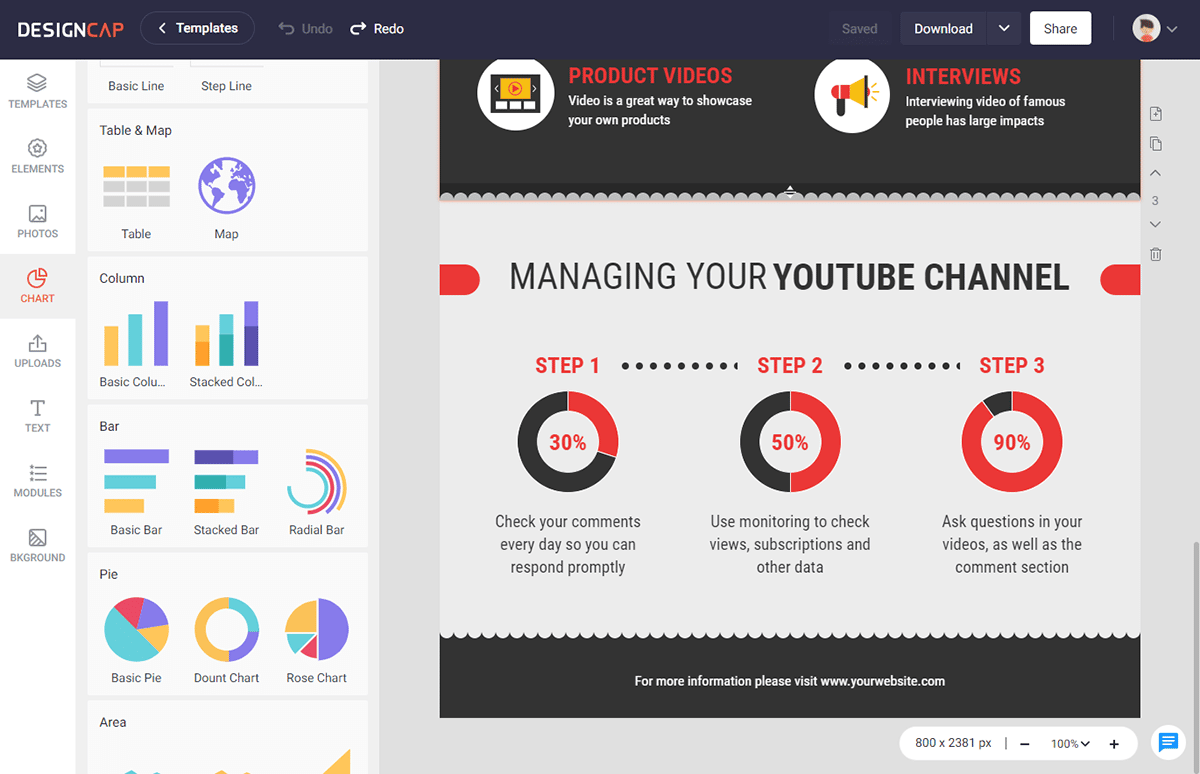
Chart
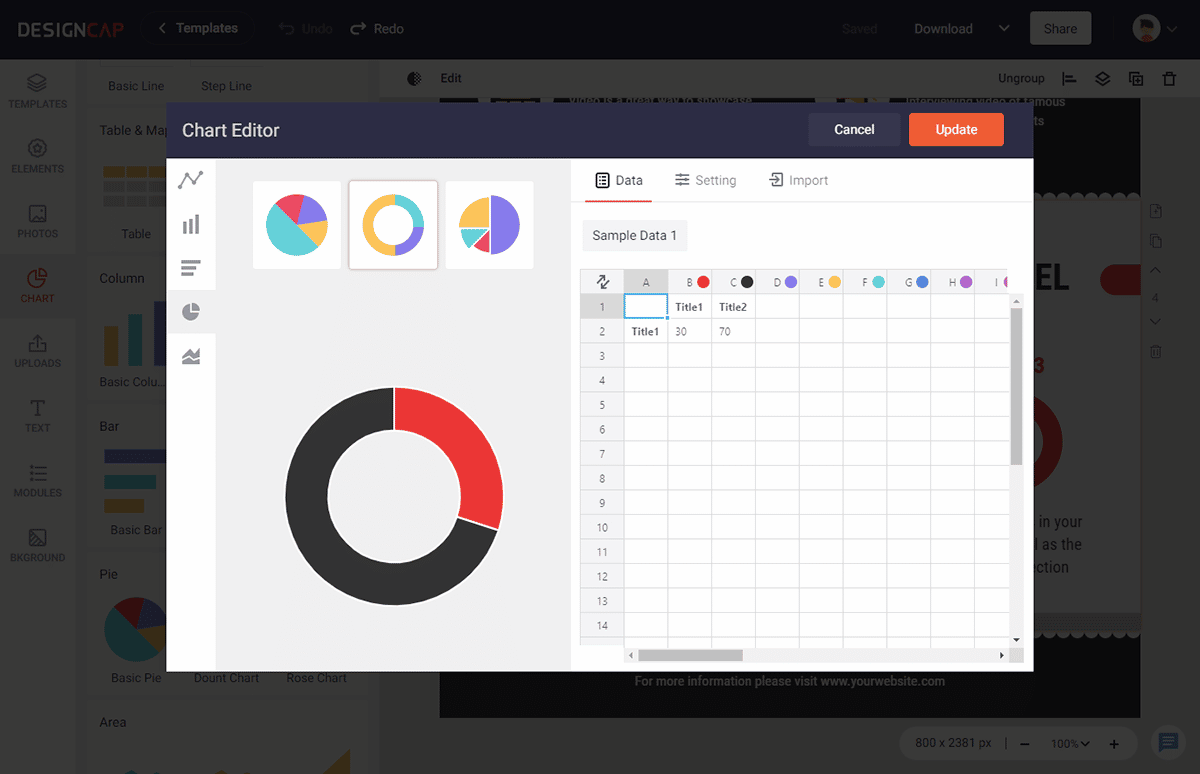
The chart tool in DesignCap is pretty talented. It’s very smart to import your data directly from XLS, XLSX, or CSV files. You can simply adjust the date of every value, number, and title or change the text color, fonts, and size of the data. This is what attracts me very much.
Uploads
From the DesignCap upload tool, you can upload those graphic elements created by you or downloaded from other sites that do not belong to the DesignCap tool, and that can help you make much more personalized designs.
For example, I am going to use one of the images that I currently use on my own website. You can use the one you think is convenient or like the most.
To finish off our design, we are going to search for some components that DesignCap provides us through its search tool, thus completing our image for the blog in this way.
Text
DesignCap text tool. This tool, as is evident, will allow you to modify everything related to fonts, font sizes, spacing between characters, etc., in your design.
To do this (as for any other DesignCap element), we will only have to hover over the header that we just created and choose the options that we want to implement.
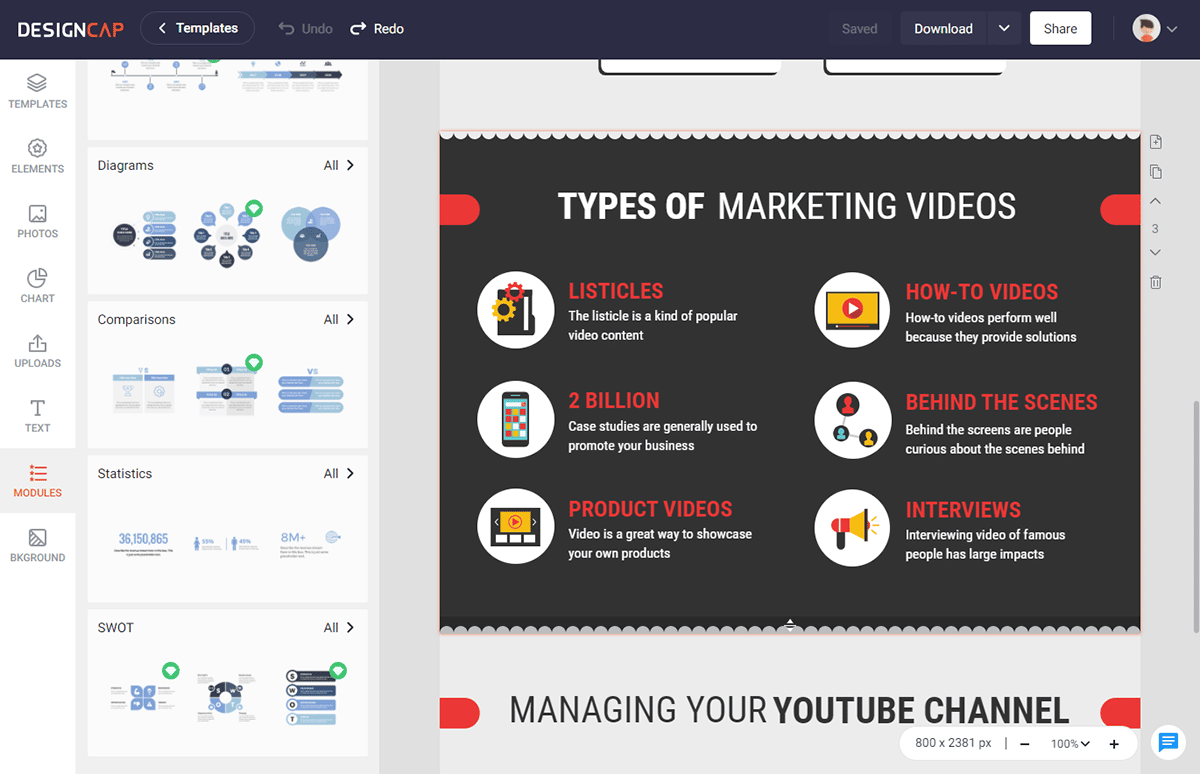
Modules
This is another tool that I love most. It’s pretty convenient to organize every piece of info on the infographic clearly and quickly. There is a wide selection of unique types for us to choose from, such as Diagrams, Timelines, Steps, Statistics, comparisons, etc.
BKground (Background)
It’s time to choose the background of our image and, therefore, to use the “BKground” option.
If you love it, change the default background to a color you like.
You can also choose a preset pattern as the background for your blog image.
4. Download the designed image on your computer
The last step is to press the “Download” button located at the top right to save the design you just created on your computer.
You can decide whether to save it in jpg, png, or pdf format. The choice is yours.
Once saved… voila! You can now use that unique, different image with a particular professional air on your website or blog.
Just one more thing.
You can save the design to your profile so that you can modify your design and download them at any time.
You may also like: FlexClip Video Editor: Makes Video Editing in Your Browser Easy and Fun.
The end

As you have already seen, not having a design program or not knowing how to use one is not a valid excuse for not taking care of your website’s graphics once you know about the existence of DesignCap.
I hope this tutorial will help you discover this fantastic online tool and that you start using it today to create quality images for your website or blog.
Suppose you still have any questions or want to know more about DesignCap. In that case, I recommend that you watch this video and subscribe to their YouTube channel, where they put fascinating information and specific tutorials with techniques and details of this web application so that you dominate it in-depth.