Moving the Office 365 data to PST is not an easy task for users; it is quite technical for users to perform. However, users export Office 365 mailbox to PST for various reasons, for which they try to find a solution to process the exporting task.
We all know that Office 365 stores the crucial data of MS Office 365, and every user wants to use a method that will keep their data secure even after exporting the Office 365 mailbox to PST file format.
Therefore, we will introduce you to two methods in this post so that you can perform this task efficiently. Also, we will learn about the reasons and stepwise working of both solutions to export your mailboxes.
Why do users export their Office 365 emails to PST files?

There are huge numbers of organizations who are looking to export Office 365 mailboxes to PST files. Read the below-mentioned factors to understand the importance of saving Office 365 emails to PST.
- If you export your Office 365 data to PST, it is the best way to keep a backup of your important emails.
- Users can avoid a lot of future mishaps after moving the Office 365 data to PST file format.
- The data will not be lost even after any virus affects your Office 365 data; you can restore all your data from the PST file.
- PST file is easy to port to another system so that users can move their data simply after exporting Office 365 mailbox to the PST file.
- Users can reduce the size of the Office 365 mailboxes by saving the data into PST file format.
Saving your Office 365 data to PST file format is a perfect task that will help users to avoid various situations. Also, it will keep your complete data safe in the local storage.
Related: Free Email vs Paid Email: 10 Best Email Hosting.
Methods to transfer Office 365 emails to Outlook PST
Two methods would be helpful in exporting Office 365 mailbox to PST, manual and professional. The manual method that is used in performing this exporting process is the eDiscovery Export Tool. This tool is offered by Microsoft to export Office 365 mailbox to PST file format.
Most users are not aware of how to perform this task with the help of manual and professional methods. We have come up with the stepwise working process of both methods to perform this task. First, we will learn the manual solution and then go for the professional one.
Export Office 365 data to Outlook PST using the manual method
Now, we will learn eDiscovery Export Tool stepwise process to export Office 365 mailbox to PST file. We will use the content search option in this method and complete this exporting process. Users must follow the below-shared stepwise process to complete this task with the help of the manual method.
Step 1: Log in to MS Office 365 and click on the Admin Center tab.
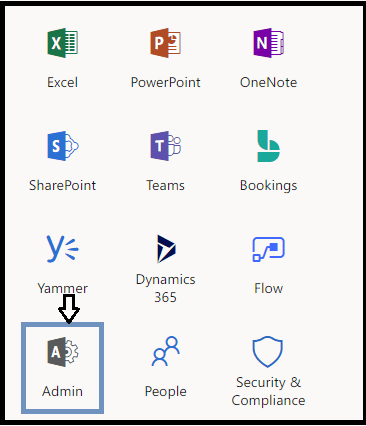
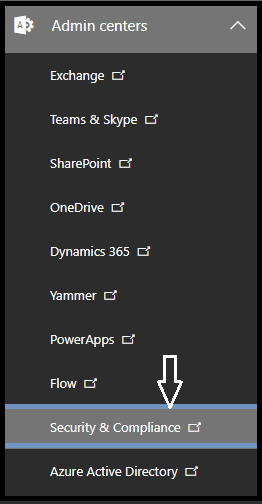
Step 2: Click the ‘Security & Compliance’ on the Admin Center page.
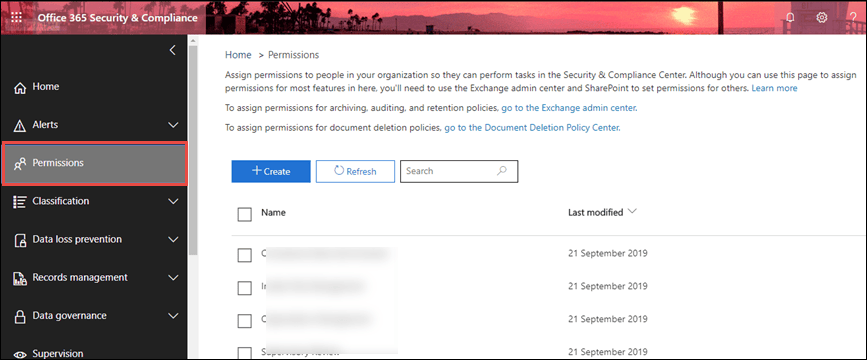
Step 3: Then, press on the ‘Permissions’ option.
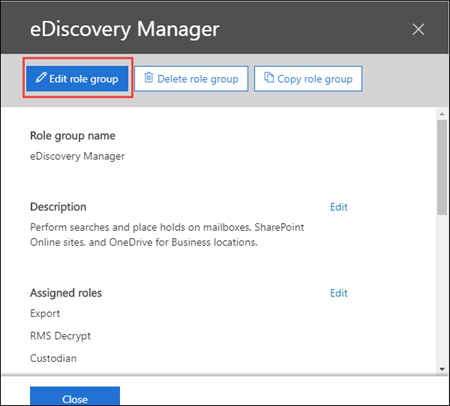
Step 4: Then click on the ‘eDiscovery Manager’ option.

Step 5: Click on the Edit role group option under the eDiscovery Manager page.
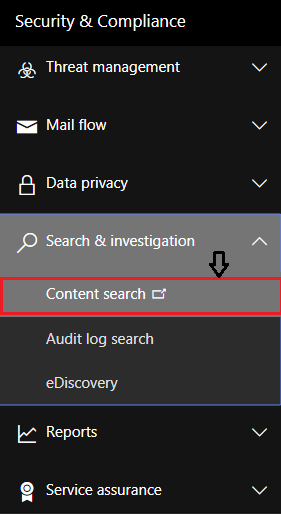
Step 6: Then, navigate to the Security & Compliance option and choose the Content Search option.
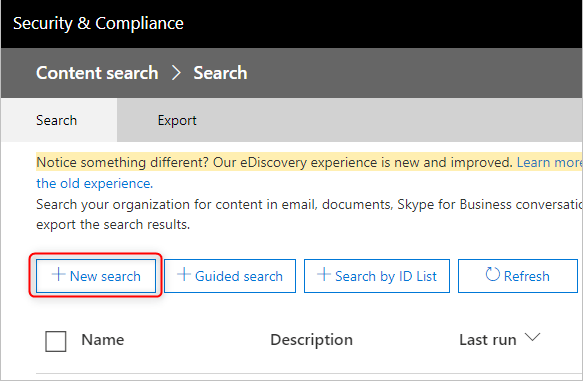
Step 7: Click on the ‘+ New Search’ option to create a new content search.
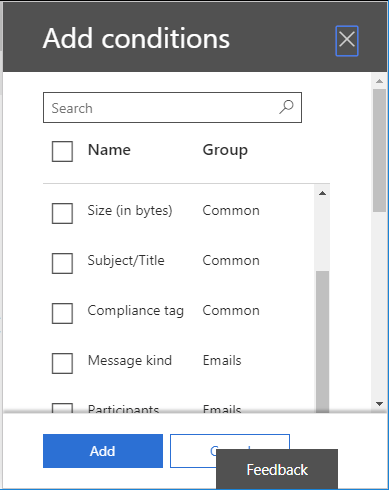
Step 8: Choose the data you want to export from Office 365 mailbox to the PST file. You can also add conditions to filter the search process.
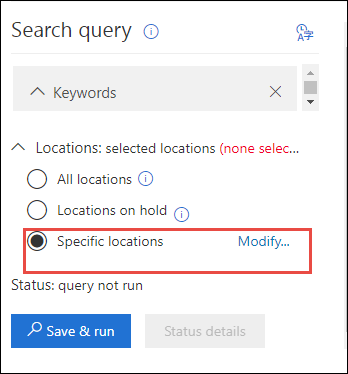
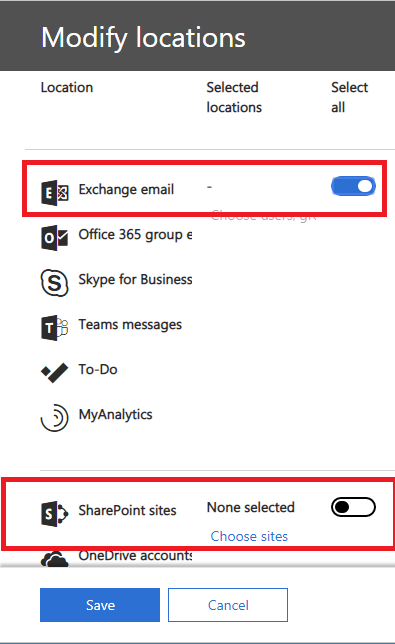
Step 9: After that, choose the Select Specific Locations option and then press the Modify… option.
Step 10: Choose the user’s group option to choose emails or specify the Office 365 mailboxes.
Step 11: You can also export SharePoint data and public folders by allowing the Public folders option.
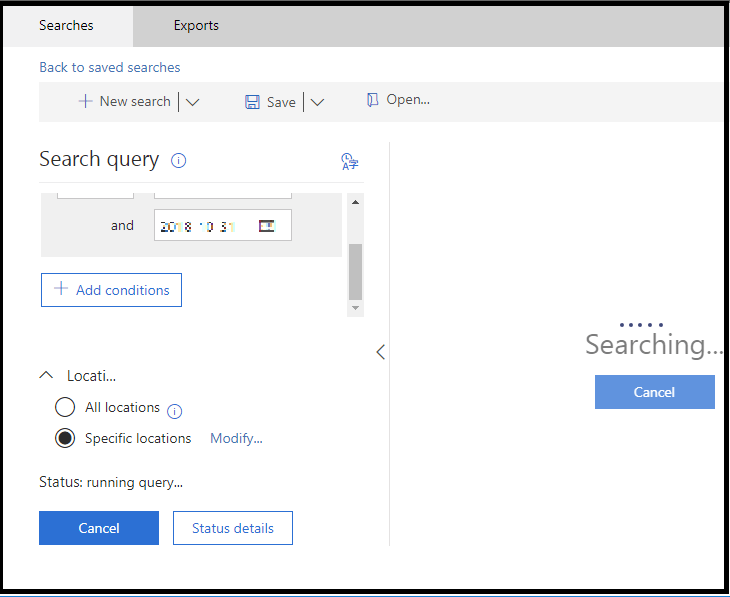
Step 12: Tap on the Save & Run button to continue with the process to export Office 365 mailbox to PST file.

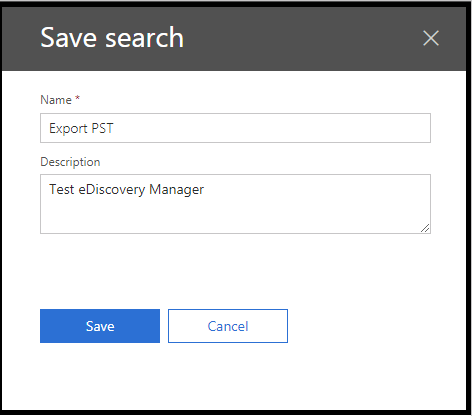
Step 13: Provide a name for the content search, enter a description, and press the Save button.
Step 14: Then, the search will run in the background.
See also: 11 Excellent Document Editing Software You Can Use Now.
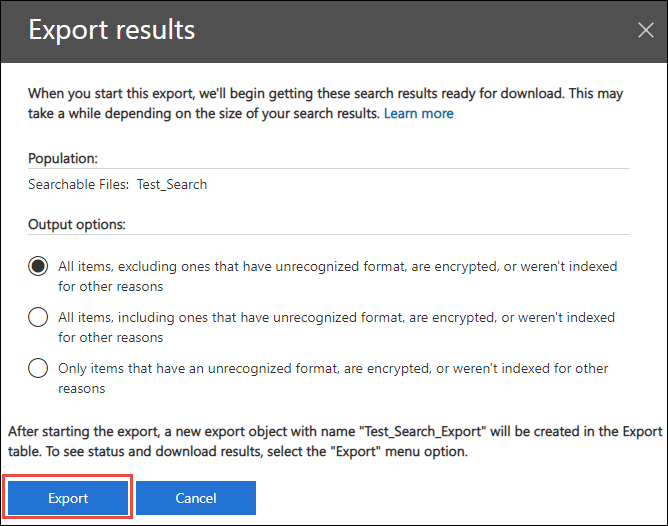
Step 15: After that, hit the More button and then press the Export results.
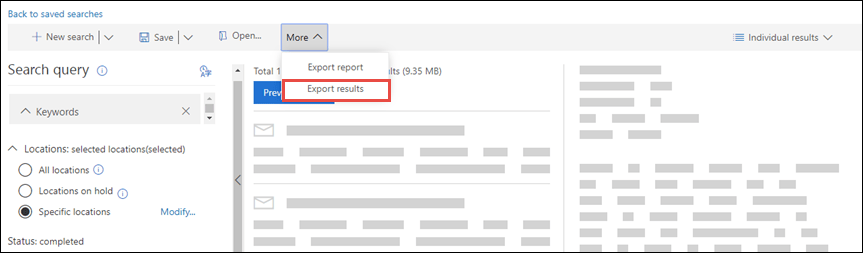
Step 16: Later on, press on the Export button to export Office 365 mailbox to PST files.
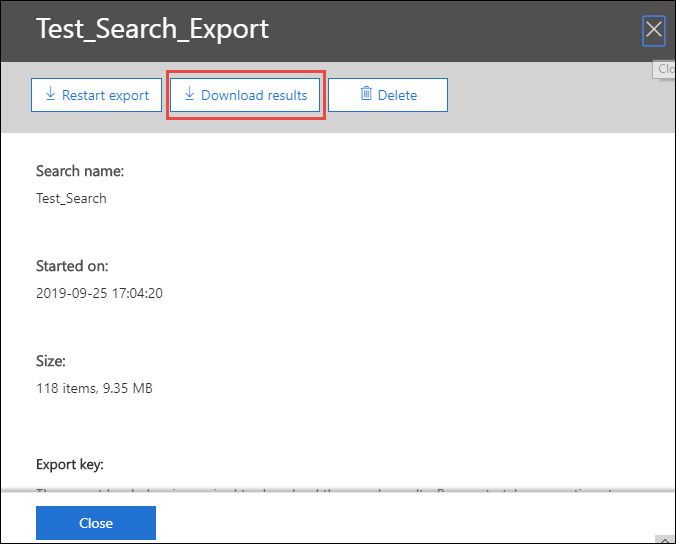
Step 17: Click on the Exports tab and view the list.

Step 18: Hit the Download results and copy the Export Key.
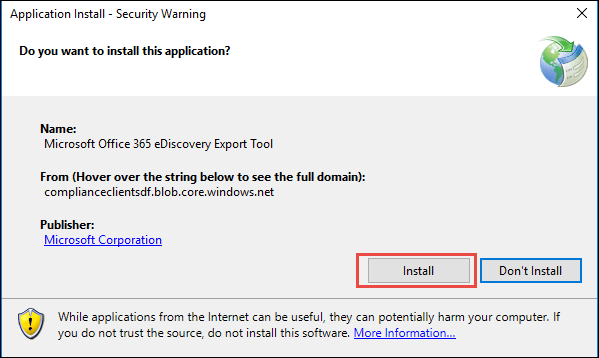
Step 19: Click the Install button to download the eDiscovery Export tool.
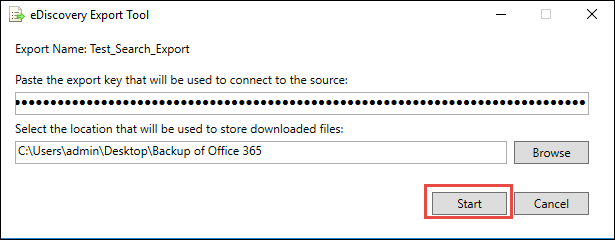
Step 20: Once the downloading process is completed, paste the key in the eDiscovery Tool. Choose the location where you want to store the resultant PST file in your system.
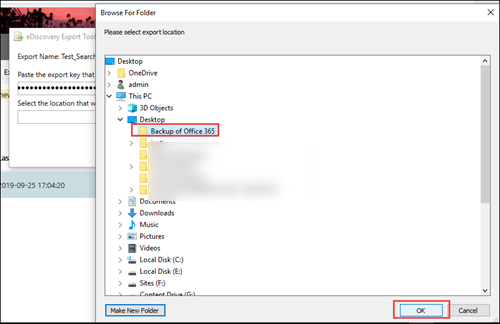
Step 21: Click on the Start button to begin the Office 365 exporting process.
After completing these steps, users can successfully export Office 365 mailbox to PST file format. However, this method has various limitations, due to which most users do not prefer this method to save the Office 365 mailbox to a PST file.
Shortcomings of the manual method to export data to PST
The eDiscovery Export Tool is not a quick solution to export Office 365 mailbox to PST file. It has a lot of limitations that may make this process a bit tricky and challenging for users. Read the below-given points to understand about the disadvantages of the manual method in performing this exporting task.
- There are various steps that users need to follow to complete this exporting task with the manual method. So, the task becomes time-consuming and lengthy for users.
- Users must use the Internet Explorer or Edge browser to export Office 365 mailbox to PST file. This task can’t be processed with the help of other browsers.
- The eDiscovery Export Tool can create duplicate items while exporting Office 365 data into Outlook PST.
Exporting process could become problematic for novices or users who lack technical knowledge. Moreover, there is no guarantee of the accurate exportation of the mailboxes. So, going for a better way to export Office 365 mailbox to PST file is the best option for users.
We advise users to read the next paragraph entirely and carefully to understand a reliable method to do this process.
A Third-party tool to export Office 365 mailbox to PST quickly

In the above section, we learned why the manual method is a challenging and time-consuming method to export your mailboxes. Thus, we suggest users choose the Shoviv professional third-party tool to complete this process in a quick way. Shoviv Office 365 Backup and Restore Tool is assembled with so many features to complete this task in an effective manner.
This software allows users to add Office 365 mailboxes of any size, and even users can multiple mailboxes at a time. Its working steps are very easy, and all users can understand the working steps easily. Anyone can operate this software and export Office 365 mailbox to PST files without any hassle.
Key features of the Shoviv Office 365 Backup Tool
- This software offers many file formats to save Office 365 mailboxes, such as PST, MBOX, HTML, MSG, and many more.
- It also maintains folder hierarchy and meta properties of Office 365 data even after completing the exporting process.
- Users also can use its incremental export option that allows users to resume the process where it gets interrupted. Also, prevent data from duplicating items even after completing the exporting process.
- It also provides a simple user interface so that users can export Office 365 mailbox to PST files in a simplified manner.
- Users can even try its free trial version for more information on its features and working process.
Related: How Microsoft Dynamics 365 Help to Customer Engagement?
Detailed steps of exporting mailbox to PST using Shoviv software
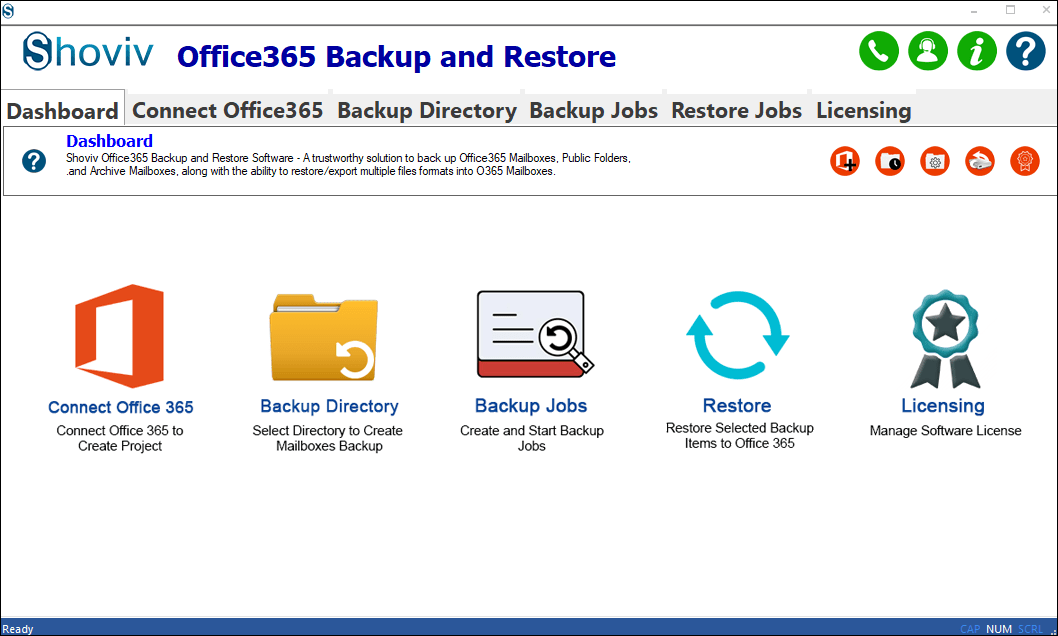
Step 1: Install and open the Shoviv Office 365 Backup and Restore Tool on your system. Tap the Connect Office 365 option.
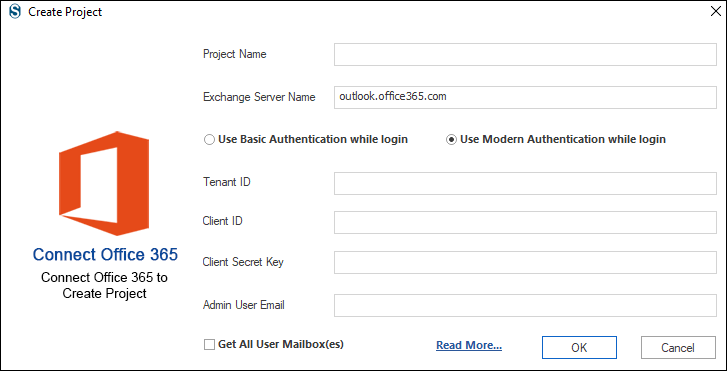
Step 2: Enter the needed details to create a Project. Click on the OK button.
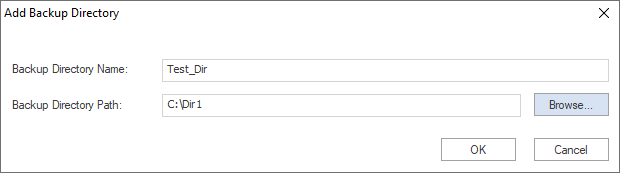
Step 3: Press the Backup Directory tab.
- Create a new backup directory after choosing the (+) option under the backup directory.
- Enter the location path to store the resultant PST file. Provide a suitable name for the resultant Outlook PST file and click the OK option.
Step4:
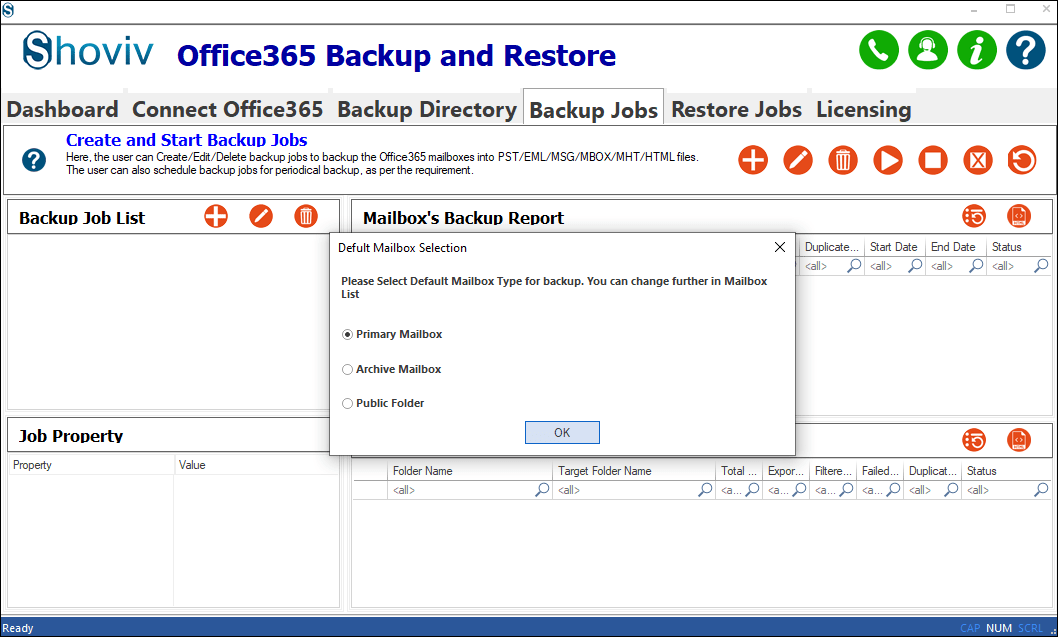
- Click on the Backup Jobs tab.
- Choose the mailbox type.
- Tap on the (+) button to create a new backup job.
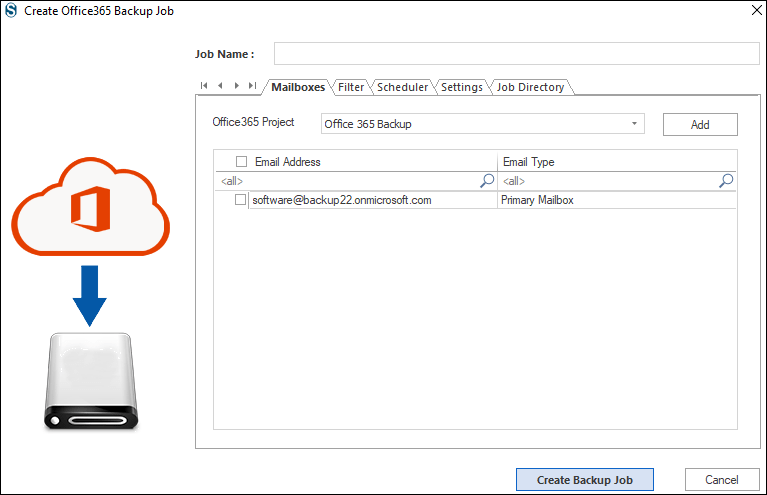
Step 5: Then, choose the mailbox to export in Outlook PST.
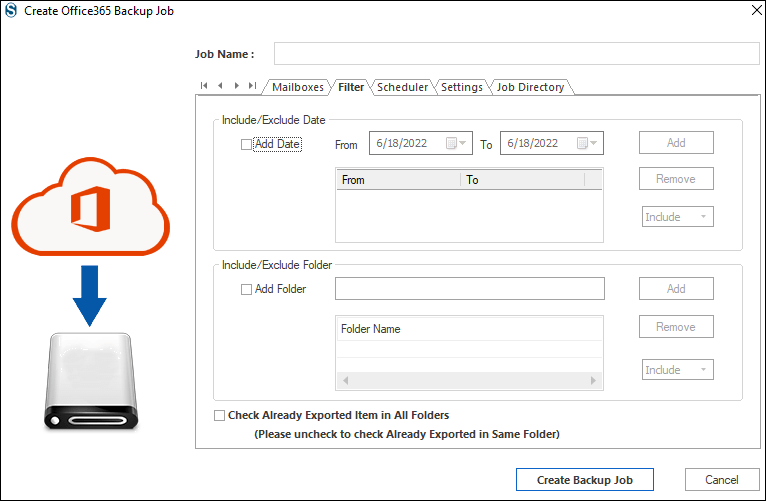
Step 6: Apply filters and utilize its scheduler option as per your requirements.
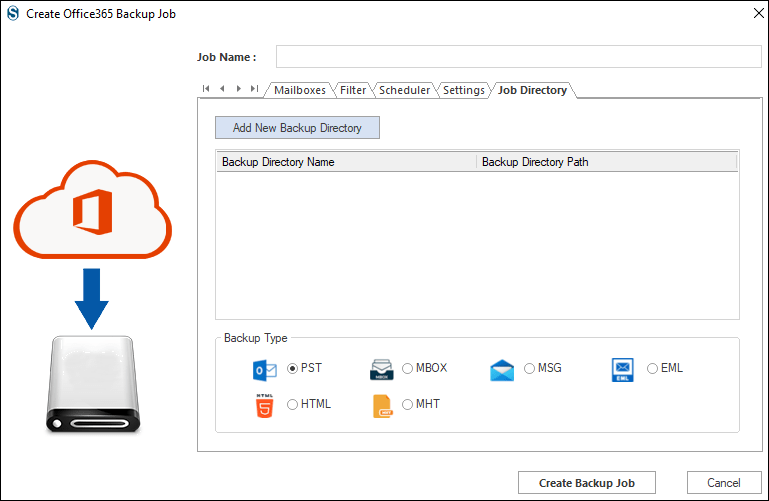
Step 7: Click on the PST from file formats options to export Office 365 mailbox to PST file type. Then, press the Create Backup Job option.
Step 8: Run the backup job when you want to start this process.
Step 9: After the process is completed, click on the OK and then the Finish button.
Final Words

In this post, we delivered two methods to complete the Office 365 mailbox exporting process to PST. After completing the discussion on steps, we suggest users export Office 365 mailbox to PST using the Shoviv professional tool. This software is an easy and secure method to complete this exporting process. Also, users can try its free trial version, which permits processing the first 50 items per folder at free of cost.
Author: Divya Chauhan
This article is written by Divya Chauhan. Divya is a passionate technical content writer. She enjoys writing blogs for cloud-based services like Office 365. In her free time, Divya learns about new technology and gains knowledge of writing blogs on it. She has more than 3 years of experience in writing technical blogs for various services. Follow her: Twitter | LinkedIn | Facebook.