The native gallery capabilities of WordPress has come a long way. However, even in the current version, gallery do not provide the full range of features and options that have become essential for a modern WordPress website.
This gap is often filled in by gallery plugins. The official repository of WordPress Plugins includes a number of plugins that add a broad range of capabilities and functionalities to the default gallery. While this is a splendid idea, the number of available plugins is high enough to confuse the website administrators. However, choosing the right plugin is often a daunting task.
To help ease the difficulty of choice, let me introduce Envira Gallery, an easy and powerful WordPress gallery plugin that incorporates a number of functions and features into the standard WordPress gallery. Envira is a straightforward plugin that offers sophisticated and responsive video and image galleries in a matter of minutes. Besides, Envira Gallery is highly optimized for speed, ensuring fast load and display of photos. As per the words of the plugin developer, to date, it has been downloaded more than 300,000 times. The plugin requires 4.0 or higher version of WordPress and is compatible up to 4.6.1 version. Please note that Envira Gallery is a paid plugin.

Features
Envira Gallery offers a full host of features that distinguish it from the competition. In particular, users prefer the plugin because of the following features:
- Drag and Drop Functionality: Build exciting galleries by just dragging and dropping images and videos directly into the target
- Gallery Templates: Use the provided templates for custom tailoring your galleries to your specifications.
- Responsive Mobile Friendly: Build galleries that look beautiful on all screen sizes and devices.
- Albums and Tags: Organize images and videos in galleries and use tags for better organization and access to the gallery elements.
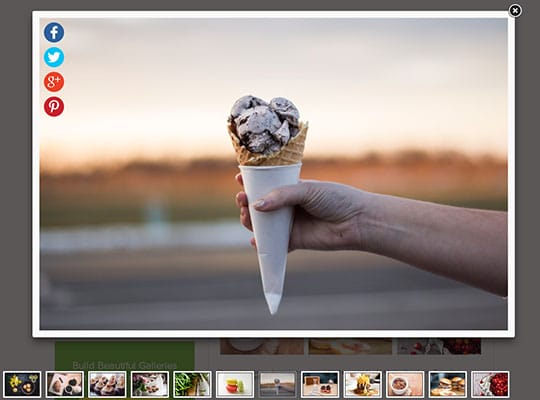
- Social Media Integration: Visitors could instantly share the pictures and videos on a number of social media channels, thanks to embedded share buttons.
- Ecommerce Store: The plugin offers several eCommerce-specific features such as WooCommerce integration, image proofing, and much more.
- Watermarks and Protection: Use password protection for the pictures and add watermark to images and videos.
- Slideshow and Fullscreen View: Add fullscreen lightbox and slideshows based on galleries and albums.
- Deep linking & Pagination: Build SEO optimized galleries and albums using pagination and deep linking.
- Video Support: Embed videos directly from reputed sources including YouTube, Wistia, and Vimeo.
Add Responsive Image Gallery Using Envira Gallery
The first step in creating a responsive image gallery is the installation of the plugin. The process of installation and activation of Envira Gallery is very similar to the standard WordPress plugin installation and activation process.
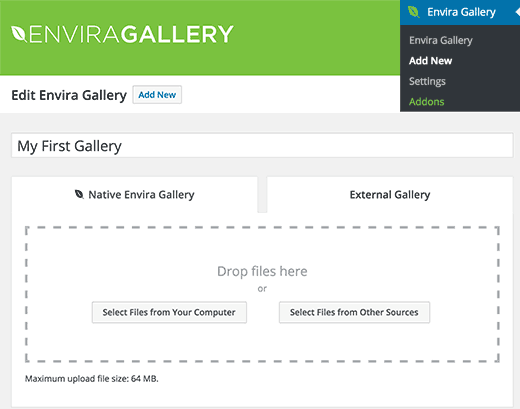
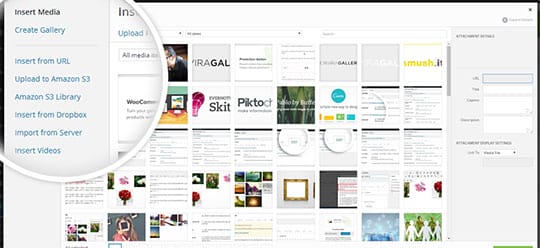
Once you have activated the plugin, you will see a new menu item for Envira Gallery in the WordPress admin sidebar. Go to this menu item and click Add New. A window will pop up asking whether you want to select the file from your computer or other sources like the WordPress media library.
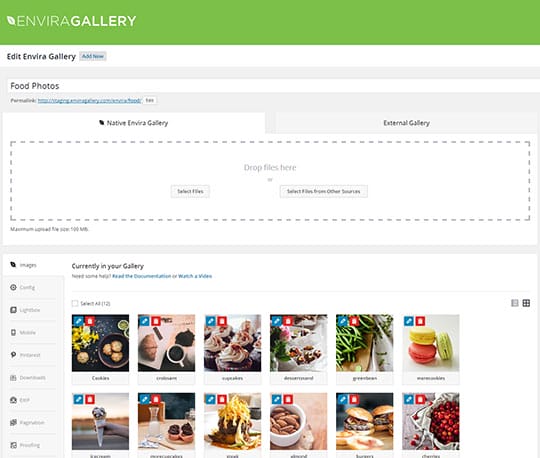
After you have selected the images, you will see them in the form of thumbnails.
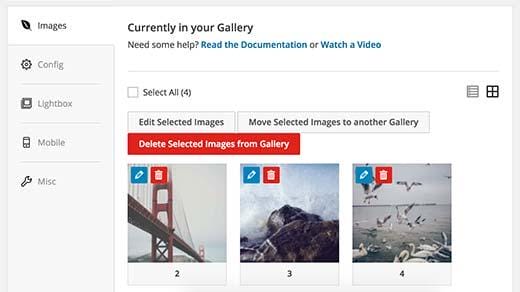
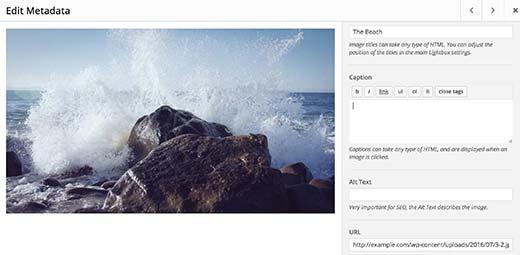
Depending on the particular order you need the images to be in, you can rearrange through drag and drop functionality. At this point, you can add image metadata such as alt tag and title by clicking on the pencil icon located at the top left corner of each picture. You can even add HTML in the image title and include a link to any web page in the Image Hyperlink field.
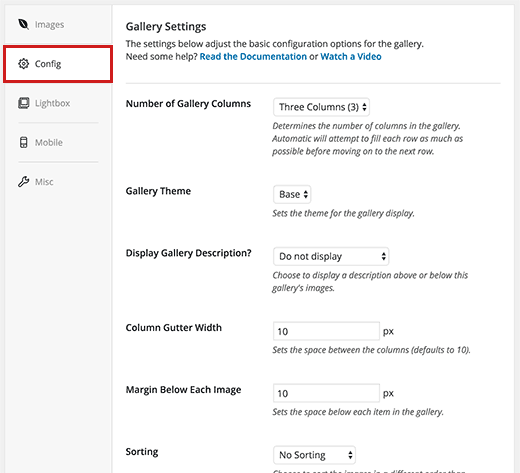
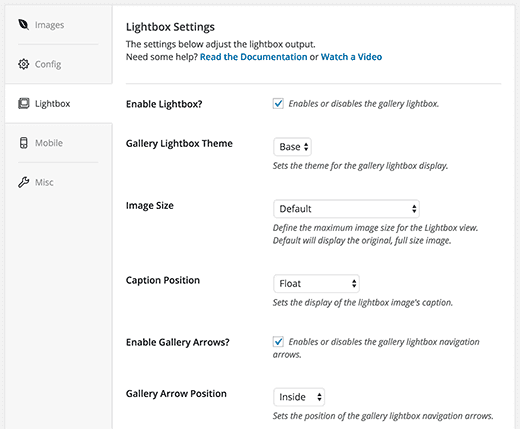
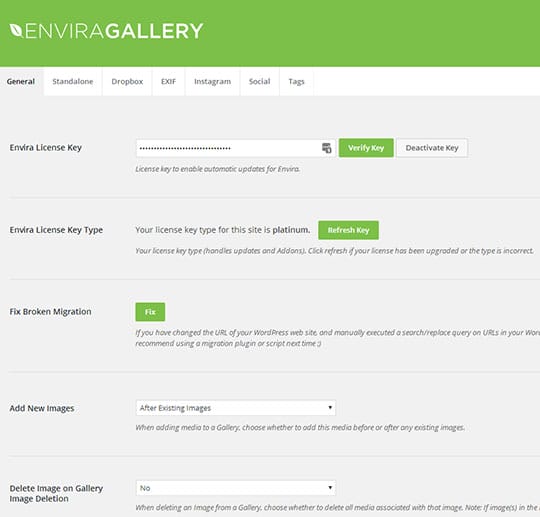
Once you are done with the metadata, you should now click the Config tab. Here you can configure the image gallery settings and choose the way a particular gallery should like. On this screen, you could choose from several display options including lightbox theme, gallery theme, columns, and others.
The plugin, by default, comes with just one lightbox and gallery theme. However, additional themes are available through add-ons available on the official website.
The lightbox display could be specifically customized by modifying title display, hide or display lightbox gallery toolbar, arrow display, and whether the images will be shown in the fullscreen view.
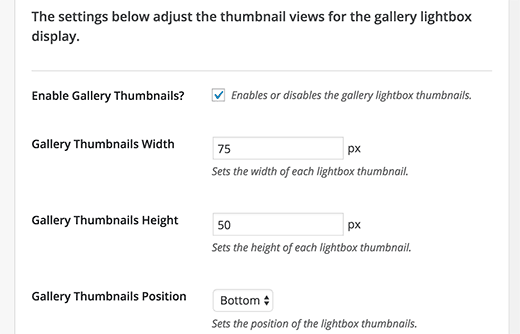
After configuring the lightbox settings, go to the bottom of this section, where you will see the thumbnails section. The settings in this section offer significant control over how the thumbnails will appear below the lightbox when an image is clicked. Also, the user could move through the gallery by navigating the thumbnails display.
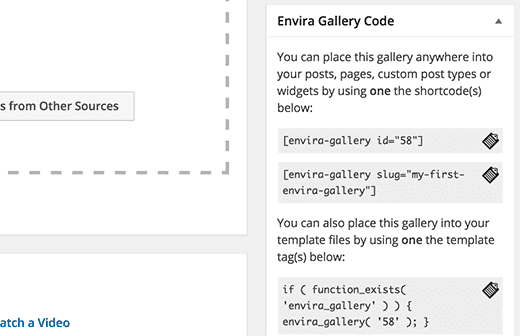
Click the Publish button when you are done tweaking all gallery display options. Next, you will receive shortcodes that are used to embed the gallery into a widget, page, or post.
How to Add a Gallery to a Page or Post
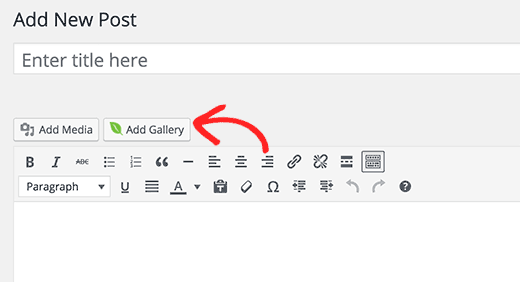
Adding a gallery to a page or post is very straightforward. First, create a new page/post or edit an existing post/page. Next, click Add Gallery button located on the post editor bar.
A popup that displays all the galleries already created will appear. Select the desired gallery and click the Insert button.
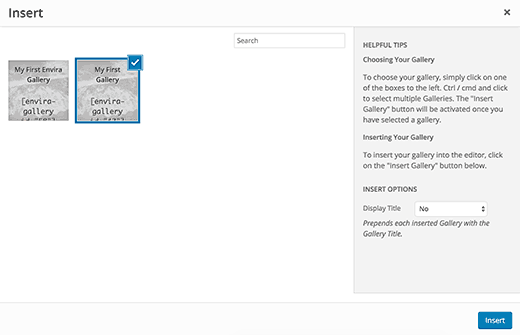
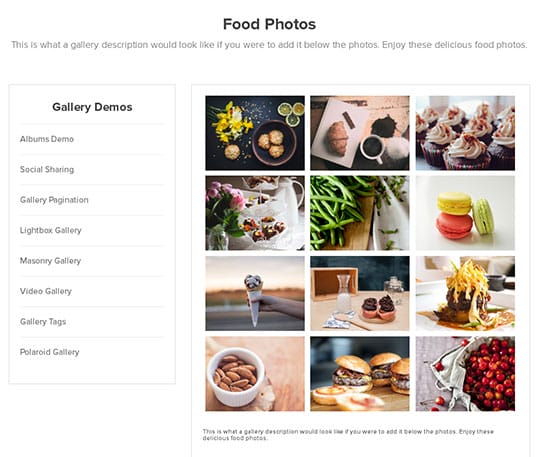
In the post editor, you will see the Envira shortcode. Save and publish the post, then visit the website to see the gallery in action.
Envira Gallery Add-ons
Envira Gallery offers a number of plans to accommodate all budgets. Depending upon the package you opt for, various add-ons could be used to extend the capability of the plugin. The following is the list of about 30 add-ons available for the plugin.
- Albums
- Breadcrumbs
- CSS
- Deeplinking
- Defaults
- Downloads
- Dropbox Importer
- Dynamic
- EXIF
- Featured Content
- Fullscreen
- Lightroom
- NextGEN Importer
- Pagination
- Password Protection
- Printing
- Proofing
- Slideshow
- Social Sharing
- Standalone
- Supersize
- Tags
- Videos
- Watermarking
- WooCommerce
- ZIP Importer
- Zoom
Envira Gallery Plugin Interface
Following screenshots highlight the excellent user interface of the plugin.

Conclusion

In this tutorial, I introduced Envira Gallery plugin and discussed how you could install, activate and use this plugin for creating highly visual and responsive galleries for your WordPress websites. If you face any issues while using this plugin or would like to contribute to the discussion, please leave a comment below.
This article is written by Danish Ashrafi. He is the Community Manager at Cloudways, a company that specializes in WordPress Hosting. Danish loves front-end development and designing websites based on WordPress.
 This article is written by Danish Ashrafi. He is the Community Manager at


