Quick Summary
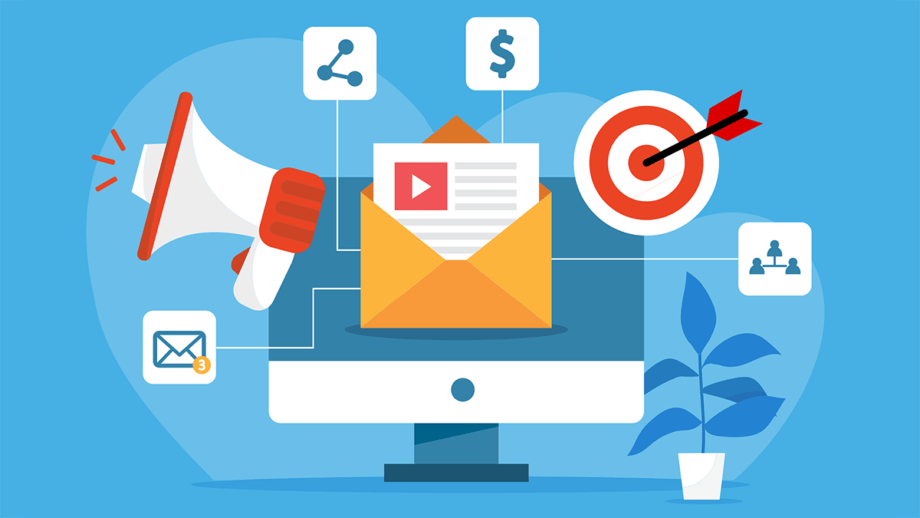
A successful email campaign depends on more than compelling content. Following a structured pre-send email marketing checklist helps prevent costly mistakes such as broken links, compliance issues, poor deliverability, and rendering errors.
From setting clear campaign goals and cleaning your email list to testing authentication records, optimizing subject lines, verifying tracking, and performing a final QA review, every step contributes to better inbox placement and higher engagement.
By making these checks part of your regular workflow, you can protect your sender reputation, improve campaign performance, and maximize your email marketing ROI.
Introduction
Pre-send errors are among the most costly failures in email marketing. A single broken link, a failed authentication record, or a missing unsubscribe option can push an entire campaign into spam folders. This harms both sender reputation and revenue.
Email deliverability depends greatly on your efforts. Your email service provider handles about 30% of deliverability outcomes, while your sending practices account for 70%. You control most of the results.
A structured email marketing checklist addresses every critical pre-send variable. This approach equips marketers with clear steps for success.
This guide outlines 10 verification steps that improve the quality of campaigns before they reach subscribers’ inboxes. Each step targets a specific failure point and provides a repeatable framework for steady, high-performing sends.
1. Set Clear Campaign Goals
Every high-performing email campaign starts with a clear objective. Without clear goals, you lose a benchmark for success and a way to measure progress. Your main goal depends on your business model.
Large businesses target a 25% rise in email revenue or a boost in open rates from 22% to 27%. E-commerce teams may aim for 30% list growth, while educational institutions aim for open rates above 40%.
Omnisend data from 2026 shows that email marketing delivers an average return of $42 for every $1 spent. This is a massive underutilized channel that many small and medium businesses could benefit from using more. Yet to drive that type of performance, you need to start with clear goals.
With 15 years of experience in digital marketing, I get frustrated when I see campaigns launched without a defined baseline metric. Establish a performance baseline from prior campaigns before setting new targets. Check your key performance indicators weekly, monthly, and quarterly. Your metrics should include:
- Click-through rate (CTR) and conversion rate (CVR).
- Open rate, read rate, read time, and spam complaint rate.
- Bounce rate, unsubscribe rate, and churn rate.
- Revenue per email (RPE) and subscriber acquisition cost.
- List size, growth rate, and deliverability rate.
Your email strategy focuses on a single call to action (CTA) placed “above the fold” for the best results. Multiple CTAs scatter subscriber attention and may lower conversions. Choose one primary action and build your campaign around it. Tools that use predictive AI can optimize sending schedules and improve performance metrics.

2. Verify Your Email List
Your email list forms the base of every successful campaign. It must hold only contacts who opted in and are genuinely interested in your messages.
HubSpot list decay data shows that email lists decline at an average rate of 22.5% per year due to job changes, abandoned inboxes, and disengagement. Approximately one in five contacts becomes unreachable within a year.
Enforce double opt-in to confirm that subscribers want your content and to lower the number of invalid addresses. Use an email address validation API like ZeroBounce to catch typos, duplicate addresses, and inactive email addresses before you send.
Before every send, address these common list issues:
- Invalid and bounced addresses that trigger spam filters.
- Role accounts that inflate list size without generating engagement.
- Subscribers inactive for more than six months.
- Unsubscribed contacts who must be excluded for compliance.
An audit of 12,000 addresses revealed that 9.8% were invalid, 5.2% were role accounts, and 22.4% had no opens in the last 180 days. Removing these addresses lowered the projected bounce rate from 3.9% to 0.4%.
Action is key: move subscribers who have not opened emails for over 6 months to an unengaged segment, or suppress them. Review and update your audience segments every three to six months to keep them fresh.
3. Review Compliance Requirements
Compliance is a legal requirement, not a best practice. Commercial emails must follow strict regulations. The CAN-SPAM Act imposes fines of up to $53,088 per violation.
Your marketing messages must include a valid physical mailing address, and the headers and subject lines must clearly identify you. Recipients should have a clear way to opt out, and you must process unsubscribe requests quickly.
Sexually explicit marketing content requires clear warnings in both the subject line and body text.
Regulations go beyond CAN-SPAM. Depending on where your subscribers live, GDPR, CASL, CCPA, and other rules may apply. Confirm that each subscriber has given clear consent to receive your emails, especially for international audiences. Follow these steps:
- Include a prominent unsubscribe link in every email.
- Display your physical mailing address in the footer.
- Classify each email as commercial or transactional.
- Confirm clear consent for international subscriber lists.
- Test SPF, DKIM, and DMARC records before launch.
Test your spam score using email validation tools like Mail-Tester before sending. Violators face additional fines and may be required to compensate affected consumers. Regular compliance checks safeguard your business and keep your audience confident.
4. Optimize the Subject Line and Preview Text
Your subject line and pre-header text are the first elements a subscriber sees. They decide whether your email gets opened or ignored. Craft subject lines that catch attention and avoid spam filters.
Write subject lines that capture interest while avoiding spam trigger words and symbols. Question-based subject lines and short, 2- to 4-word subject lines achieve an open rate of 46%. Personalized subject lines raise open rates by 26%. Use recipient names or meaningful details when possible.
Your preview text deserves clear attention. Custom pre-header text improves open rates to 44.67%, compared to 39.28% without it. The preview text should support your subject line and offer extra context that prompts a click. Test different versions to determine which works best.
Your message preview appears next to the subject line in most email clients, meaning every character counts. Optimal send times fall on Tuesday through Thursday between 9 AM and 11 AM.
5. Proofread and Personalize Your Email
Your email must be error-free before reaching subscribers. Review your message to catch typos, grammar mistakes, and formatting issues that can lower credibility. Involve extra reviewers to check every part of your email. Use clear, concise copy that reads smoothly.
Check that merge tags like [First Name] work correctly for every recipient. Broken personalization tokens create poor user experiences. Using dynamic behavioral triggers and product recommendations can boost revenue by 22% compared to static first-name insertion.
- Confirm that [First Name] and other merge tags pull the correct data.
- Verify that behavioral triggers and product recommendations are active.
- Make sure that greetings and sign-offs match your brand tone.
- Review CTA copy for clarity and direction.
Proofreading goes beyond spelling. It also means ensuring a consistent tone and smooth transition between sentences.
6. Review Images, Links, and CTAs
Your email’s visuals and interactive elements need thorough testing. Check every button, image, and text link to make sure they work on all devices. Optimize images and media for fast load times, especially on mobile networks.
Confirm that each URL is accurate and that links are tracked with UTM parameters to measure campaign performance. Fix any broken links, call-to-action (CTA) buttons, or images before sending. Technical issues damage credibility and lower click-through rates.
- Ensure the CTA is placed prominently near the top of the email and links to the correct landing page.
- Verify that the tracking parameters accurately record user behavior.
- Test buttons on mobile devices to ensure they remain clickable.
- Review button copy for clarity and direction.
Create an accessible plain-text version with working links for subscribers who cannot view HTML emails. Test your design across various devices and platforms to ensure images scale properly and buttons function as intended. You can use a professional tool like AlpacaRelay to simplify your design workflow.
The unsubscribe option must be visible and easy to use. Place this link in the footer so subscribers can easily manage their preferences.
7. Test Email Design and Responsiveness
Your email should display correctly on all devices and email clients. Test formatting across major platforms, including Gmail, Outlook, and Apple Mail. Maintain an email width of around 600 pixels and a file size below 102 KB to allow fast loading within 2 to 3 seconds.
A structured render-testing process prevents layout problems before your email reaches subscribers. Follow these steps for each campaign:
- Create both HTML and plain text versions of your email.
- Export to a preview tool like Litmus and run a 24-client render test.
- Fix any layout issues found.
- Recheck dark mode compatibility after fixes.
- Finalize all assets before scheduling the send.
A brief 2.5-hour quality check of a seed list uncovered three rendering issues: two CTA misalignments and one image scaling issue. This systematic test identifies problems that a single-client preview may miss.
Examine how your email appears on desktops, tablets, and mobile devices. Many subscribers open emails on smartphones. A design that looks neat on desktop might break on a smaller screen. Test your email in dark mode to ensure colors and text remain distinct.
Review the plain text version for readability and confirm that all links work correctly. Save tested templates for future campaigns to keep a consistent style. Design choices affect how subscribers interact with your message.

8. Improve Deliverability
Your email deliverability depends on your email service provider and your sending practices. Roughly 30% of deliverability depends on your ESP, while the remainder depends on how you maintain your sender reputation.
Use an ESP like Google Workspace or Proton Mail that supports SPF, DKIM, and DMARC authentication. These settings verify your identity to email providers and protect your domain from spoofing.
Digital Applied’s 2026 deliverability report shows that senders without the proper records see their inbox placement drop to 44%. Fully authenticated domains achieve an 89% placement rate.
Check that your sending IP and domain are not blocklisted before you launch your campaign. Your ESP should offer sender reputation monitoring and blocklist checks.
Warm up your IP and domain gradually by increasing your sending volume. This process builds a positive reputation with mailbox providers and steadily improves inbox placement rates.
Remove inactive or disengaged subscribers to keep your list fresh. A clean list signals that you send wanted mail. Run a spam score test before sending to see how filters treat your message. Confirm that authentication settings are correct before every launch.
9. Validate Tracking and Send Settings
Your ESP offers analytics that track open rates, clicks, and engagement. Check that all tracking settings are correct before launching your campaign. Confirm that conversion tracking pixels are working and connected to your analytics platform.
Schedule emails based on recipient time zones to maximize impact. Check suppression lists to exclude disengaged subscribers and optimize the “Friendly From” address for recognition. Test different send days and times with A/B testing.
- Confirm conversion tracking pixels are active and linked.
- Verify that UTM parameters are correctly set for every link.
- Set time-zone scheduling for different recipient groups.
- Review suppression lists to remove disengaged contacts.
- Optimize the “Friendly From” address for recognition.
A defined sending schedule that mirrors audience behavior ensures that messages reach subscribers when they are most likely to engage, and that data is recorded accurately.
10. Complete a QA Review
A final quality check is the last step before your email reaches subscribers. Send a test email to yourself and your team members. Real inbox tests reveal rendering issues, broken links, and formatting errors that may be hidden in editor previews.
Use pre-send seed lists to test on a curated group across devices and email clients. In one case, a 50,000-recipient send could have resulted in 0.12% spam complaints and 1.4% unsubscribe errors due to a missing footer merge tag and a broken tracked URL rule. Real tests caught these errors before launch.
Your team should check every detail before scheduling your email. Review subject line accuracy, body copy consistency, footer compliance with a physical address, CTA button functionality, unsubscribe link usability, and proper SPF, DKIM, and DMARC settings. Verify mobile and desktop rendering.
Document any issues and their fixes, then confirm the email is scheduled or sent.
Conclusion

The steps in this email marketing checklist address the most common and costly pre-send failures. These steps work because they target real problems. Apply this checklist before every campaign, and you catch errors before they damage your sender reputation or frustrate subscribers.
Track your open rates, click rates, and conversion metrics after each send. Make testing and measuring a permanent part of your email workflow, and your campaign performance will improve with each iteration.