The core principle of managing your PC is controlling what is allowed to interrupt you. Unwanted pop-ups and annoying browser notifications are significant sources of distraction that can disrupt your workflow on a Windows 11 PC.
A landmark 2024 study from the University of California, Irvine, revealed it can take over 23 minutes to regain focus after a digital interruption, highlighting the high cost of these distractions on your productivity. These alerts for software updates, payments, or promotions interfere with your focus and make using your computer less efficient.
This guide provides a structured lesson on how to stop annoying browser notifications to reclaim your focus.
First, we will cover the universal controls within the Windows 11 Notification Center. And next, we will provide step-by-step instructions for managing pop-ups in specific browsers like Chrome, Edge, Firefox, and Opera.
Why You Keep Getting Unwanted Notifications While Browsing?
Websites use a technology called “Web Push Notifications” to send alerts directly to your desktop. The moment you visit a new site, you are often met with a prompt asking for permission to send these notifications. In a rush, it is common to click “Allow” without much thought, granting that site access to interrupt you later.
These permissions are the primary reason you see pop-ups about payment deals, credit card offers, or software updates. Unlike old browser pop-ups, these modern alerts appear as “toast notifications” in the corner of your Windows 11 screen, even when the original website is closed.
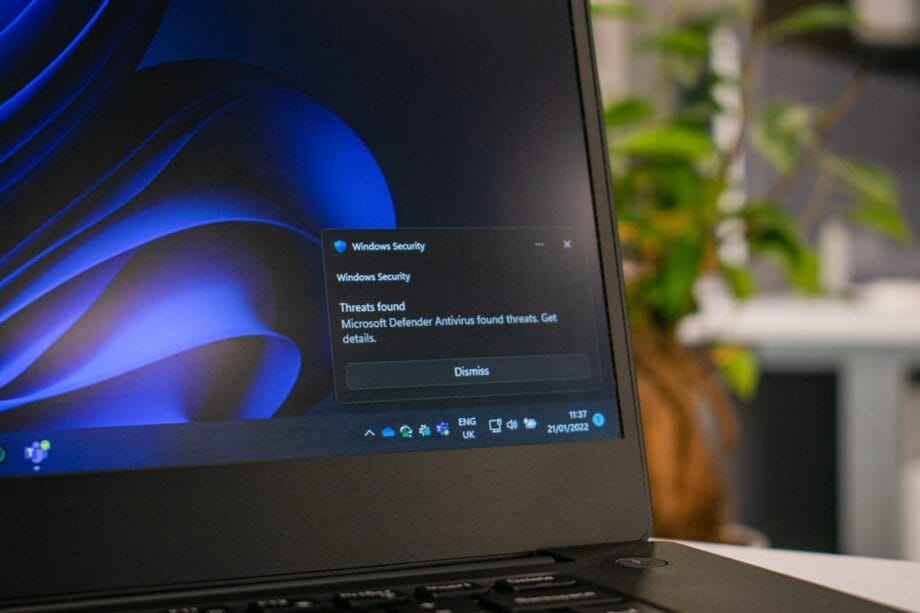
A single accidental approval can lead to a constant stream of alerts. Sometimes, these notifications are not just annoying but malicious. Adware or malware can hijack your browser’s notification system to display fake virus warnings or phishing scams. If you see alerts claiming your PC is infected from a website source, it is a strong indicator of a browser-based scam rather than a real threat from your antivirus software.
Regularly managing your browser’s notification settings is the key to stopping this flow of unwanted information from disrupting your work on the keyboard and mouse.
How to Control Notifications Globally from Windows 11 Settings?
Windows 11 offers a centralized system to disable pop-ups and manage all alerts from a single location. The primary tool for this is the Settings app, which gives you comprehensive control over every application on your PC.
The most effective feature for focused work is “Do Not Disturb“, which evolved from the “Focus Assist” feature in earlier Windows versions. When enabled, Do Not Disturb silences all incoming notifications and sends them directly to the Notification Center for you to review later.
- Press the Windows key + I to open the Settings app.
- Go to “System” and then select “Notifications.”
- To silence all alerts, toggle the “Do Not Disturb” switch to On.
- Click on “Turn on Do Not Disturb automatically” to set rules. You can schedule it for specific hours or have it activate when you are using an app in full-screen mode or duplicating your display for a presentation.
- To manage individual applications, scroll down the Notifications page. Here, you can turn off notification permissions for specific browsers like Edge, Chrome, or Firefox entirely.
- For finer control, click on an app’s name to adjust its alert priority. Setting an app to “Priority” in the “Set priority notifications” menu allows its alerts to bypass Do Not Disturb, ensuring you never miss critical updates.
- All silenced alerts can be viewed by clicking the notification bell icon on your taskbar.
Using these system-level controls ensures a consistent, distraction-free environment across all your applications and web browsers.

How to Stop Annoying Notifications on Google Chrome?
You can stop distracting pop-ups and regain control of your browsing experience in Google Chrome by managing site permissions directly. Chrome has powerful, built-in tools to help you identify and block annoying alerts.
A key feature is the automated Safety Check, which now runs in the background to protect you. As of late 2024, this feature automatically revokes notification permissions from sites you rarely interact with, significantly reducing unwanted alerts.
- Open Google Chrome and click the three-dot icon in the top-right corner.
- Select “Settings” from the menu.
- Go to “Privacy and security” on the left, then choose “Site settings“.
- Under the “Permissions” section, click on “Notifications“.
- In the “Allowed to send notifications” list, review all websites. For any site you don’t want alerts from, click the three dots next to it and select “Remove” or “Block“.
- To prevent new requests, enable the “Use quieter messaging” option. This changes intrusive pop-up requests into a discreet bell icon in the address bar.
- For a more aggressive approach, select the “Don’t allow sites to send notifications” option to block all future requests by default.
- Be aware that browser extensions can also send pop-ups. Type
chrome://extensionsinto your address bar to review and remove any unwanted add-ons. - If pop-ups are persistent and redirect you to suspicious pages, it may be a sign of malware. Run a virus scan with a tool like Norton or Malwarebytes to check for and remove threats.
By regularly reviewing these settings, you can maintain a clean and focused browsing environment on your PC.
How to Manage Unwanted Notifications on Mozilla Firefox?
Mozilla Firefox provides granular controls to help you manage unwanted browser notifications and disable pop-ups effectively. You can block new requests entirely or manage permissions on a site-by-site basis.
For users who want a permanent solution, Firefox offers an advanced setting that is not available in the main options menu.
- Open Mozilla Firefox, click the three horizontal lines in the top-right corner, and select “Settings“.
- Click on “Privacy & Security” in the left sidebar.
- Scroll down to the “Permissions” section.
- Next to “Notifications“, click the “Settings…” button.
- A window will appear showing all websites that have requested notification permissions. You can select “Block” from the drop-down menu for each site or select a site and click “Remove Website” to revoke its permissions.
- To stop all future requests, check the box labeled “Block new requests asking to allow notifications” and click “Save Changes“. This is the most effective way to prevent new sites from asking for permission.
These steps give you complete control over which websites, if any, are allowed to interrupt your work in Firefox.

How to Disable Annoying Notifications on Microsoft Edge?
Since Microsoft Edge is built on the same Chromium foundation as Google Chrome, the steps to manage notifications are very similar. Edge also integrates with Windows tools like the Group Policy Editor for advanced, system-wide control, which is particularly useful in an organizational setting.
- Open Microsoft Edge, click the three-dot icon in the upper-right corner, and select “Settings”.
- Choose “Cookies and site permissions” from the left sidebar.
- Under “All permissions“, click on “Notifications“.
- To block all new requests, turn off the toggle for “Ask before sending (recommended)”.
- Review the list under “Allow” and remove permissions for any unwanted sites by clicking the three dots next to their name and selecting “Remove” or “Block“.
- For IT administrators, the Group Policy Editor provides centralized control. Type
gpedit.mscinto the Run command (Windows key + R), then go toComputer Configuration> Administrative Templates > Microsoft Edge > Content Settingsand enable the “Block notifications on specific sites” policy to block alerts across all user accounts. - Similarly, advanced users can use the Registry Editor to create a new key named
NotificationsBlockedForUrlsunderHKEY_LOCAL_MACHINE\SOFTWARE\Policies\Microsoft\Edgeto block specific URLs system-wide.
Disabling these notifications in Edge will help you stay focused and improve your productivity on your Windows 11 PC.
How to Stop Annoying Notifications on Opera?
The Opera browser, also based on Chromium, includes straightforward controls for managing site notifications. You can easily prevent websites from sending distracting pop-up alerts by adjusting a few settings.
These controls are located within the browser’s main settings panel.
- Open the Opera browser and click the three-line “Easy Setup” icon in the top-right corner.
- Scroll to the bottom of the menu and click “Go to full browser settings“.
- Select “Privacy & security” from the left-hand menu.
- Click on “Site Settings” and then select “Notifications“.
- To block all new requests, choose the option “Don’t allow sites to send notifications“.
- Alternatively, to reduce interruptions without a complete block, select “Use quieter messaging“.
- Under the “Allowed to send notifications” section, you can review the list of sites with existing permissions.
- Click the three-dot icon next to any unwanted website and choose “Remove” or “Block” to prevent it from sending you future alerts.
Proactively managing these settings helps keep your browsing experience on your Windows 11 PC clean and focused.
Troubleshooting Persistent Notification Issues
If pop-ups continue after following the steps above, try these troubleshooting tips:
- Review your notification settings in each browser and in Windows 11 to ensure no changes have been overwritten.
- For users on Windows 10 or Windows 10 Pro, similar controls apply. Check system settings during startup and verify that alert options remain disabled.
- If unexpected alerts persist during booting, restart your device in safe mode to determine if a third-party application or browser extension is causing unwanted pop-ups.
- Examine your browsers for any policies or extensions that may trigger notifications.
- Scan for unwanted software that could generate pop-ups and run a virus check using trusted software.
- Use the Event Viewer to review system logs for abnormal alerts. Verify that your USB drivers and settings on the USB port are functioning properly if hardware connections seem to influence notifications.
Conclusion

By mastering the browser notifications settings on your Windows 11 PC, you take command of your digital environment. Following the direct steps in the Settings app and adjusting site-specific controls in Chrome, Firefox, Edge, or other browsers is a straightforward process.
Alerts should serve your needs, not detract from your focus.
Customizing these settings enhances your productivity and creates a cleaner, more organized desktop. If you require further assistance, resources like Microsoft Support and the help centers for each browser offer additional details.
Take control of your notifications today to build a more productive and peaceful computer experience.