Are you interested in learning how to use a DSLR camera? If so, you’ll want to take a look through this post and the Infographic. We’re about to go through the process of how to use a DSLR camera, step-by-step. By the end, you’ll be feeling a lot more confident about how to use these cameras!
Different Shooting Modes
One of the main points to consider about using DSLR cameras is that there is a range of shooting modes available. You’ll be able to access the various shooting modes on the dial. Most DSLR cameras have a dial that includes Av, auto, P, M, and more depending on the model.
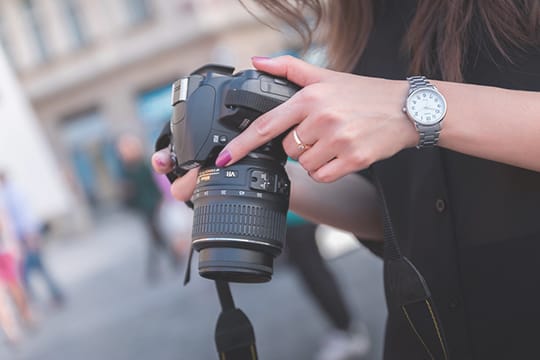
When you see “A” or “AV” on a dial, it refers to the aperture priority. This is what has an effect on the depth of field when you’re taking pictures. There are small and large apertures available that will be suitable depending on the type of picture you’re taking. For example, if you’re shooting things further away, a small aperture would be best. For the objects that are closer up, the large aperture is better.
“P” stands for the program and it’s what enables you to have control over the speed of the shutter and the aperture. “M” is the dial that you use for manual mode. This provides you with complete control over your photos. Therefore, you’ll have to manually change the shutter speeds and aperture while taking pictures.
“S” or “TV” is the dial controls that deal with the shutter. The shutter speed is what determines how long the shutter remains for while you’re taking shots. If you have it open for longer, more light is able to make its way through. Generally speaking, the longer the shutter is open, the blurrier the image will be. If it’s quicker shutter speed, you’re able to capture moving objects with clarity.
Recommended for you: Top 10 Best Selling Newly Launched DSLRs (Digital SLR Cameras).
ISO
Iso is the element of a DSLR camera that involves a sensor’s sensitivity to light. If you’ve been looking at the specs of cameras, you will have seen ISO ratings.

The ratings range from Iso 100 to Iso 6400. The Iso 100 rating means the sensitivity is lower and the 6400 rating means that it’s much higher. If you’re shooting in environments where the lighting isn’t so great, a higher Iso number would be best. This enhances how sensitive the sensor becomes light to help you get a better picture. However, when you’re taking pictures in brighter locations, a lower Iso number would be best.
Exposure Triangle
So, you now know more about using Iso, aperture, and shutter speed. However, being able to use them in combination with each other is crucial for taking great photos. When you make changes to the shutter speed, you’ll also need to factor in the Iso and aperture. This is because altering one aspect will throw the image off a little until you balance out the rest of the features.
Metering
DSLR cameras are pretty good at being able to take into account the darker and lighter areas of a photo that you’re taking. As a result, it can bring the various tones together to be more balanced. This is known as the middle grey. Metering is when a camera makes a very bright environment seem darker than it is. It also makes darker pictures look brighter than they seem to the human eye.
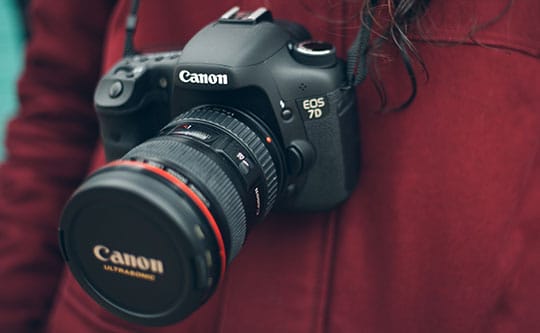
Using a DSLR camera and getting the hang of metering is a great skill to have. There are usually 3 different modes to choose from. They include average, center-weighted, and spot metering. The average mode works to take all the different tones into account. It will then automatically create the middle grey from the bright and dark tones.
If you use the center-weighted mode, a DSLR camera can focus on the tones that are in the middle of the camera. So, if you’ve taken a centered photograph, whatever object is in the middle will look best. The corners of the picture aren’t focused on as much compared to the average settings.
When you use the spot metering mode, the camera focuses in on an even smaller area than the center-weighted feature. You’re able to use the smaller viewfinder to see where the camera is focusing on as it’s only around 5% of the entire viewfinder. The light and dark tones are taken into account within this smaller zone and the camera creates a middle grey-toned photograph.
Focusing
Regardless of the type of photograph that you’re taking, you’re always going to be wanting to focus on something. You’re provided with a range of focus features with a DSLR camera.
There are usually two autofocus modes available with these cameras. These include AF-S single and AF-C continuous. The AF-S single is excellent when it comes to taking pictures of objects that aren’t moving. Things like portraits and landmarks come out looking fantastic with this mode.
If you’re taking photographs of objects that are moving, the AF-C continuous mode would work best. This is great for taking photos of wildlife or sporting events. When you’re taking a picture with a DSLR camera, you’ll see that there are various dots across the screen. Each of these dots is able to focus on a specific area of what’s in your viewfinder. You can use the shutter button to highlight a specific dot which turns into a red color. This allows you to focus the camera on more specific areas to take the perfect picture.
White Balance
The final factors to consider is the white balance. There’s an auto feature available on these cameras that works to predict what the light coloring will be based on the primary colors that are in the shot.
Sometimes this can work in your favor. Other times, it can make the shots look inaccurate. You’ll find that there are different presets available. You can use these to help balance out the color of the light to ensure it’s accurate for the specific setting that you’re in.
How to Use a DSLR Camera – The Ultimate Guide (Infographic)


You may also like: Top 10 Best Selling Digital Camera Lenses (DSLR Lenses).
Conclusion

So, that concludes our post on how to use DSLR cameras. Using these cameras can help you take your photography to the next level, but only if you know how to use it right! Use this guide to learn the basics of how to make the most out of each picture you take. Also, be sure to practice taking different pictures and messing around with the various modes. The more experience you have with these cameras, the better your pictures will be!
This infographic is provided by Anirudh Krishna. He is a photography enthusiast based out in Delhi, India, his passion for photography started 5 years ago during his college days. Anirudh also loves sharing whatever he has learned about photography with fellow aspiring photographers by writing posts on his blog Skcamera.com. His fav genre is Nature and Street Photography. Follow him: Facebook | LinkedIn.
 This infographic is provided by Anirudh Krishna. He is a photography enthusiast based out in Delhi, India, his passion for photography started 5 years ago during his college days. Anirudh also loves sharing whatever he has learned about photography with fellow aspiring photographers by writing posts on his blog
